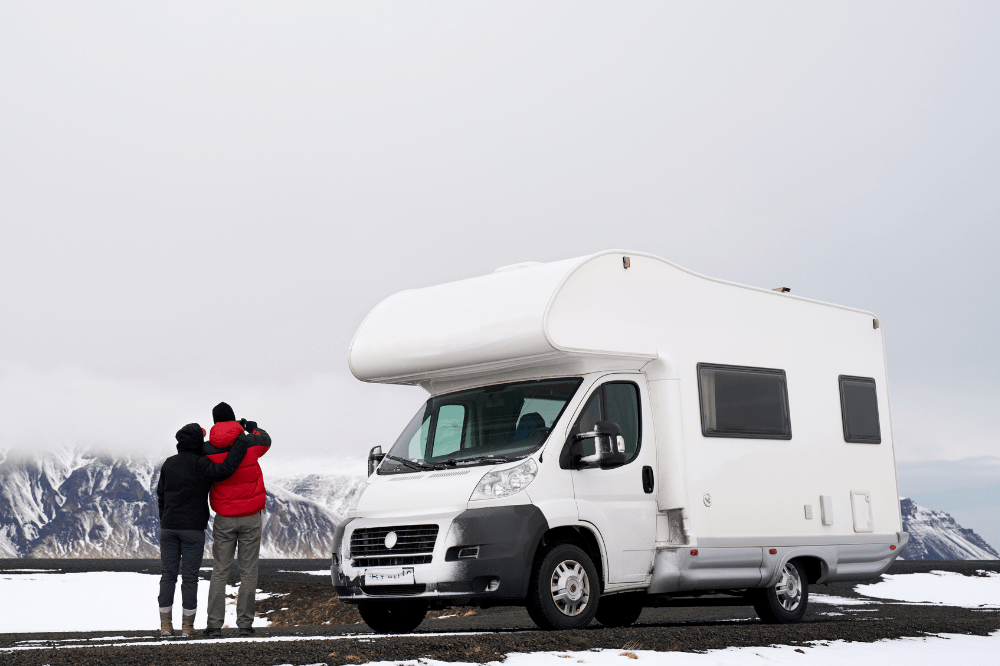
Winter is a beautiful time of year, but it can also be tough on your RV or travel trailer’s plumbing system. Freezing temperatures, icy roads, and rough weather can all take a toll on your home on wheels, and if you’re not prepared, you could end up with costly repairs or worse.
That’s why it’s so important to winterize your RV or travel trailer’s plumbing before heading out on your winter adventure. Winterizing your plumbing may seem like a daunting task, but with a little bit of know-how and some elbow grease, you can easily protect your home on wheels from cold weather damage.
In this blog post, we’ll go over the expert tips and tricks for winterizing your RV or travel trailer’s plumbing, so you can enjoy a smooth and stress-free winter adventure. We’ll cover everything from draining the water tank and water heater to adding antifreeze to the pipes and checking for leaks. Plus, we’ve included some pro tips along the way to help make the process even easier.
So grab your toolkit and let’s get started!
Step 1: Drain the Water Tank
The first thing you’ll want to do is drain the water tank. This is crucial, as any water left in the tank could freeze and expand, causing damage to the tank itself.
To drain the water tank, start by turning off the water pump and disconnecting the water hose. Then, open the valve on the bottom of the tank to allow the water to drain out. If your RV or travel trailer has a hot water tank, be sure to drain that as well.
Pro Tip: If you have a built-in water filter, be sure to bypass it before draining the water tank. This will help to prevent any damage to the filter.
Step 2: Drain the Water Heater
Next, it’s time to drain the water heater. This is important, as any water left in the heater could freeze and cause damage.
To drain the water heater, start by turning off the gas and electricity to the heater. Then, locate the drain valve and attach a hose to it. Place the other end of the hose in a safe location (preferably outside) and open the valve to allow the water to drain out.
Pro Tip: Some water heaters have a pressure valve that needs to be released before draining. Be sure to check your owner’s manual for specific instructions.
Step 3: Flush the Toilet
Okay, this might not be the most glamorous task, but it’s important to flush the toilet and add some antifreeze to the holding tank to prevent it from freezing.
To flush the toilet, simply hold down the flush lever until the bowl is empty. Then, add a few cups of antifreeze to the holding tank and swirl it around to coat the inside of the tank. This will help to prevent the tank from freezing and cracking.
Pro Tip: Don’t have any antifreeze on hand? No problem! You can use RV-safe propylene glycol in place of antifreeze. Just be sure to follow the manufacturer’s instructions for the correct amount to use.
Step 4: Disconnect the Water Hose
It’s important to disconnect the water hose from the RV or travel trailer and store it indoors for the winter. This will prevent the hose from freezing and bursting, which could cause damage to your plumbing system.
Pro Tip: Before you disconnect the water hose, be sure to open all the faucets and let the water run until it’s completely drained. This will help to prevent any remaining water from freezing in the pipes.
Step 5: Add Antifreeze to the Pipes
To protect your pipes from freezing, you’ll want to add some antifreeze to them. Start by turning off the water supply to the RV or travel trailer and opening all the faucets to allow the water to drain out. Then, add antifreeze to the faucets and pipes using a funnel. Be sure to use a non-toxic antifreeze specifically made for RV and travel trailer use.
Pro Tip: Don’t have a funnel on hand? No problem! You can use a plastic bottle with the bottom cut off as a makeshift funnel. Just be sure to hold onto the bottle with a firm grip, as the antifreeze can make it slippery.
Step 6: Insulate the Pipes
To further protect your pipes from freezing, you can use pipe insulation or heat tape to keep them warm. Simply measure the length of the pipes and cut the insulation or tape to size. Then, wrap the insulation or tape around the pipes, being sure to cover all exposed areas.
Pro Tip: Be sure to wear gloves when handling insulation or heat tape, as it can be sharp and cause cuts.
Step 7: Close the Water Regulator
If your RV or travel trailer has a water regulator, be sure to close it for the winter. The water regulator helps to regulate the flow of water to the RV or travel trailer, but it can also allow cold air to enter the plumbing system. By closing the water regulator, you’ll help to keep your pipes warm and protected from the cold.
Pro Tip: Not sure how to close the water regulator? Check the owner’s manual or ask a professional for help.
Step 8: Check for Leaks
Before you pack up and hit the road, be sure to check for any leaks in your plumbing system. Turn on the water supply and run the faucets to check for any dripping or leaks. If you find any, be sure to repair them before winterizing your RV or travel trailer.
Pro Tip: Don’t have any plumbing experience? No problem! You can hire a professional plumber to winterize your RV or travel trailer’s plumbing for you. Just be sure to shop around and get multiple quotes to ensure you’re getting a fair price.
Step 9: Protect the Exterior Pipes
In addition to winterizing the interior plumbing, it’s also important to protect the exterior pipes from freezing. This includes the pipes on your RV or travel trailer as well as any external water sources, such as a hose bib or outdoor shower.
To protect the exterior pipes, you can use pipe insulation or heat tape as well. Just be sure to wrap the pipes thoroughly and secure the insulation or tape in place. You can also use a pipe heater or insulating blanket to provide additional protection.
Pro Tip: Be sure to turn off and drain any external water sources before winterizing to prevent freezing and bursting.
Step 10: Winterize the Sewer System
Finally, don’t forget to winterize your RV or travel trailer’s sewer system. This includes the black water and grey water tanks, as well as the sewer hose and fittings.
To winterize the sewer system, start by emptying and rinsing the black and grey water tanks. Then, disconnect the sewer hose and store it indoors for the winter. Finally, add some antifreeze to the sewer inlet and any other fittings to protect them from freezing.
Pro Tip: Be sure to follow the manufacturer’s instructions for winterizing the sewer system, as different RVs and travel trailers may have specific requirements.
And that’s it! With these simple steps, you can properly winterize your RV or travel trailer’s plumbing and protect it from the cold. So go ahead, roast some marshmallows and enjoy your winter adventure with peace of mind knowing your plumbing is taken care of.
Happy travels!
Expert Plumbing Services with True Service Plumbing
Don’t let a faulty plumbing system ruin your winter. Trust the professionals at True Service Plumbing to keep your plumbing running smoothly.
Our team of licensed plumbers can assist with everything from winterization to maintenance and repairs. Whether you need us to clear a drain, defrost your pipes, or check for leaks, we’ve got you covered.
Is your plumbing giving you trouble? We’ll diagnose the issue and provide a solution to get your system running smoothly again.
Don’t take any chances with your home or business. Contact True Service Plumbing today and enjoy the peace of mind that comes with reliable plumbing.


