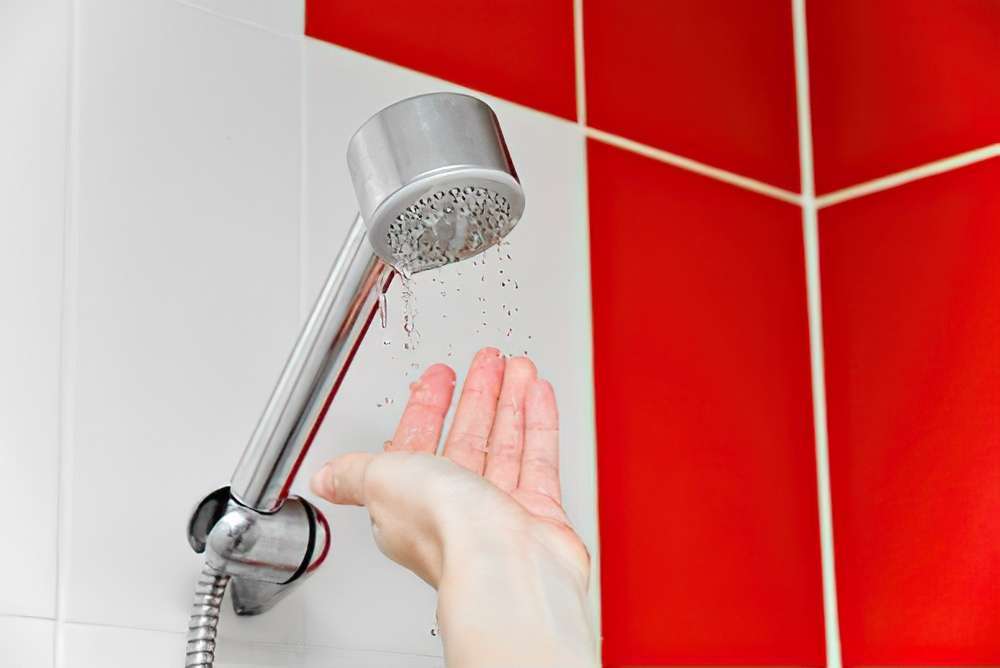
Has your shower been not up to par lately? Perhaps it’s been spraying wildly and unevenly. Or maybe it has not been providing a consistent pressure like it once did.
If this sounds like your shower experience, then it can mean your showerhead is due for a cleaning.
Mineral deposits building up in the nozzle holes can cause an uneven spray. To get the water flowing evenly and freely, you need to clear these out.
Regularly cleaning your showerhead can be quite beneficial to your health. A study done by researchers at CIRES found mycobacterium growing in residential showerheads.
They discovered this bacteria residing in the slimy “biofilm” lining the showerhead. Mycobacterium can cause certain types of lung disease. Your showerhead is not just a breeding ground for bacteria, but mold as well. The warm, wet environment inside your showerhead is optimal for microbe growth.
Fortunately, both descaling and sanitizing your showerhead is straightforward using common household ingredients. Below we look at the different ways you can give your showerhead a deep clean.
Scrub The Nozzles
This method is the easiest to do out of the three. You can remove mild scale and mineral buildup by scrubbing. Easy peasy. This can also work on showerheads that are slightly dirty or have light stains.
As you’ve figured–the name is exactly what it is: scrubbing. Use a cleaning agent, preferably one made with all-natural ingredients. Apply the cleaning agent to your showerhead.
Then use a small nylon brush to dig in and get at the tiny holes on the showerhead face. If you do not have a nylon brush, an old toothbrush will do the trick.
You can do the scrubbing method quickly, making it convenient. It can be something to keep in your bathroom deep cleaning arsenal.
You do not have to commit to doing this method routinely. Just scrubbing once a month or so would be enough to keep heavy mineral deposits at bay.
This method works when cleaning both stationary and handheld showerheads. You will have to remove the showerhead from the arm. However, this can be done with ease.
Scrubbing will work like a charm when removing light deposits and soap scum. But if your showerhead is heavily stained, you may want to skip this method. Soaking will do you better when it comes to thick and hard deposits.
Soak In Vinegar
Soaking your showerhead in vinegar is better for difficult hard water stains and mineral deposits. This works because vinegar is an acidic solution.
Vinegar is inexpensive, non-toxic, and all-natural. Chances are, you already have a bottle of it in your pantry. This makes it the perfect, ready-to-use cleaning agent.
For this method, you will need to soak your showerhead for about a day. This will allow the vinegar to work its magic and dissolve the deposits.
If you’re in a hurry, you may want to try a different cleaning agent. Check your local hardware store or an online shopping site, such as Amazon for options.
To soak, there are a few ways of going on about this. If you want to leave the showerhead attached to the arm, fill a plastic bag with vinegar.
Submerge the showerhead in the bag. Then wrap a rubberband around the head and bag opening to secure it. Leave the bag around the showerhead to allow it to soak completely.
Once done, remove the bag and rinse out the showerhead by turning the water on. Leave it on for a few minutes to allow the waterflow to rinse out any remaining vinegar.
If you’re OK with removing the showerhead from the arm, you can submerge the head in a large container full of vinegar.
No special tricks needed for this. Allow the showerhead soak in vinegar for a couple of hours. Reattach the showerhead once done. Remember to turn the water on for a minute or two to rinse it out.
With this method, the best thing about it is that you can leave it to soak and go about your day. The cleaning solution does most of the legwork as time passes.
One thing to keep in mind–when using a harsher or a non-natural cleaner, that is it may not be compatible with your showerhead.
Certain types of rust and lime-removal cleaners will ruin chrome plated showerheads. Make sure you double check to see if the product you choose to use is suitable on chrome.
Clean The Filter
There are a variety of different showerhead brands that come with built-in filters. Happen to own one of these brands? You may need to refer to the instruction manual to clean the filter screen.
If you didn’t keep the manual, you can likely find a digital version of it on the manufacturer’s website. You can also try contacting their customer service department.
In most cases, you will find the filter screen at the point where the showerhead connects to the pipe. To reach the filter screen, you will need to remove the shower head from the connecting pipe.
After disconnecting the showerhead from the pipe, extract the filter screen. For this, you can use tweezers or needle-nose pliers.
Once the filter screen if off, clean it by giving it a good water rinse. You can use a small toothbrush and some all-purpose cleaner to remove stubborn debris.
When you’re done cleaning, reinstall the filter screen and reattach the showerhead. Run the water to rinse out any remaining debris and cleaning agents.
When to Call A Plumbing Service?
Whether you have a wall-mounted showerhead, handheld showerhead, or dual showerhead- leaks are common, but fixing them may take a little too much work from your side- at times.
You may find it hard to find the same parts, or there may be issues within the valves, or it’s time for a new showerhead or faucet for which you need a professional plumbing service to have your leaks checked and repaired.
Reach out to us now for a hassle-free leaky shower head or faucet fix.


