
There is no situation that is more distressing than discovering a pool of water by your water heater. It’s another mess to clean up. That sinking feeling you get at the thought of the cost to fix it can make you feel sick to your stomach.
If you notice your water heater leaking water, you must find the root cause of the problem as soon as possible. This way, you do not have to worry about other potential issues in the future.
Depending on the severity of the issue, you may need the help of a trained specialist. Or all you need is a little care to restore it back into operating shape. The following is a list of some of the ways you can deal with a leaking water heater:
How Does A Hot Water Heater Work?
To begin, you need to have a good understanding of how your water heater operates! Let’s plunge in!
In the beginning, ice-cold water flows into the tank by means of the intake pipes. After that, a dip tube sends the cold water for heating all the way to the bottom of the tank.
To heat water, a water heater has two separate electrical elements. One located near the top of an electric water heater and the other located near the bottom. These two elements heat the water contained within the unit.
If you have a gas water heater, the assembly known as the burner will cause a flame to be lit. Then, this flame will warm the bottom of your water tank, which will in turn warm the water within the tank.
The byproducts of the combustion leave the system via a circular pipe made of silver. This pipe, also releasing the flue gases, handles heating the water.
Once done, the water finally leaves the heater through the outlet line. From here, hot water is now able to flow throughout your home wherever needed.
What To Do If You Find A Leaking Water Heater?
You no longer have to feel helpless and perplexed standing in front of your leaking water heater.
Below, we outline steps homeowners can use to troubleshoot common water heater issues. We include suggestions for easy fixes if you’re feeling confident enough to attempt them!
Step 1 – Verify Your Water Heater Is Leaking Water
Now is the time to investigate the root causes of the issue.
Look and determine whether moisture is the result of condensation or a leak. Condensation is no cause for concern. All it indicates is that your water heater is at a very high temperature, with the outside air being cooler.
You may check this by drying out your water heater after giving it a quick wipe-down. Then, take a good look at the outside of it. It is most likely condensation if moisture appears across the surface.
Next, make sure to check all the other appliances in the area. Is your heating and cooling system close by? Your air conditioning unit or your heating system could be potential leak culprits.
You can use paper towels as a test to determine where the water is coming from by placing them on the ground.
Step 2 – Ensure that the Power Is Off
After confirming the source of the water leak is in fact the water heater, the next step is to cut off the electricity.
Working on your water heater while it remains live is dangerous. You must avoid doing this at all costs.
If your water heater is electric, locate the circuit breaker that controls it and turn the water heater switch to the OFF position.
At the bottom of the tank, close to where the gas line enters the unit, there is a gas shutoff valve that is specific to gas water heaters.
Step 3 – Turn Off the Supply of Cold Water
The next thing you’ll want to do is turn off the faucet that supplies your water heater with cold water.
Your water heater tank’s top has two pipes that are attached to it at the same time. The majority of water heaters contain a valve that can be used to cut off the cold supply inlet pipe. This is the source of the water that you use in your home.
The cold water inlet pipe, which is sometimes marked blue (for cold water) or red (for warm water), supplies the water tank with a supply of cold water.
The water that has been heated in your water heater is carried into your house via the hot water supply line.
In the event that the pipes are not colour-coded, you may determine which one is cold and which one is hot by touching them.
If the shutoff valve is a wheel that can be turned, then turn the wheel as far as it will go in the clockwise direction. In the event that there is a ball valve, rotate the handle 180 degrees across.
Step 4 – Look For The Source Of The Water Leak
Now that we’ve got that out of the way, we can get down to serious business. Once you have switched off the water and the power supply; it is time to locate the cause of the leak so that you can troubleshoot and repair it.
Observe where the water of the leak collects, then clean that area. The next day, if you find a buildup of water in the same spot, you now know where to start troubleshooting the leak.
If you have any questions about how to troubleshoot your hot water heater, feel free to contact us.
If There Is Water Coming Out Of The Top Of The Water Heater, Check The Pipes
Have you discovered that there is a water leak at the very top of your water heater?
Check out the condition of the two pipes that are perched atop your water heater. They are referred to as the warm water outflow pipe and the cold water inlet pipe.
These pipes deliver water into the tank for heating. Once done, they then transport the warm water into your home.
It is possible that your leak is due to pipe fittings or connections becoming loose over time. In this scenario, you can use a pipe wrench to pull the pipes closer together.
If your water heater tank is leaking from the side or the bottom, check the temperature and pressure relief valve
If you notice water dripping down the side of the container, it is possible that the Temperature and Pressure Relief Valve, sometimes referred to as the T&P valve, is the source of the problem.
You will find a T&P valve on every water heater. When water pressure becomes too high, this safety device will allow water to escape the system.
If you notice water escaping from the T&P valve, check the temperature see if it has been set too high in the first place.
High temperatures could result in an abnormally high pressure. This in turn, would then set off this safety device.
The United States Department of Energy recommends that the temperature of your tank-based water heater be maintained at approximately 49° degree Celsius (120° Fahrenheit).
But, if the temperature has not been turned up too much and the leakage continues, it is possible that the valve is broken. If this is the case, you need to seek the help of a professional to have it replaced.
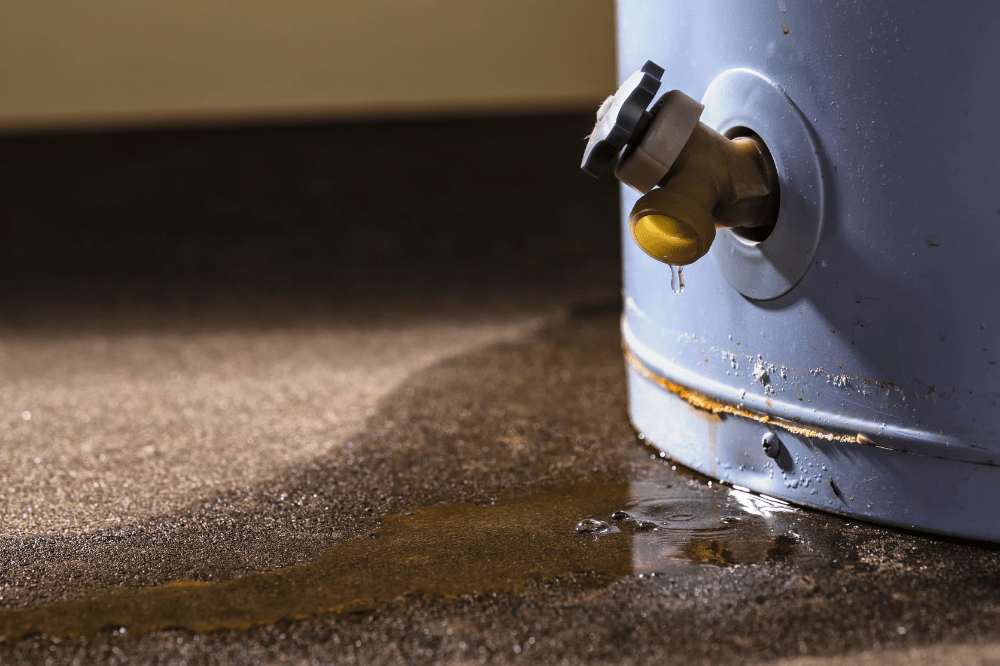
A drain valve is often located at the bottom of the water heater. The water heater needs to be drained for maintenance, which is why this valve is here. Check to make sure the drain valve is closed if you notice water leaking from the bottom of your water heater.
If it is still leaking, it is possible that the valve is not properly secure. You can use a pipe wrench to attempt to slightly tighten the drain valve to resolve the issue. Do not overtighten the valve. Because doing so will cause it to leak more than it already does.
If your drain valve continues to leak even after you have attempted to fix the problem, you may need to replace it.
A leak in the water heater tank towards the base
It is possible that a break in your hot water tank is the cause of an unexplained pool of water that has formed close to the bottom of the tank that houses your water heater.
Unfortunately, repairing your hot water heater won’t be enough. You’ll likely need to replace it with a brand-new one instead.
Step 5 – Repair Any Damage Caused by the Leak
Do not overlook the necessity of cleaning the water. The presence of water may be the root of many issues. It can deform structures, damage personal property, and invite pests or mold.
You must clean up the mess as soon as possible to avoid any extra headache!
Step 6 – Schedule Water Heater Maintenance
If your water heater continues to leak water after troubleshooting it, best contact a water heater specialist for help.
To bring your water heater back into working order, you may need the help of a trained professional at times.
What are the Root Causes of a Water Heater That Leaks?
Loose Pipes Connections
It is possible for your water heater to leak if any of the attaching pipes or valves are loose. You can use a pipe wrench to tighten loose joints. If tightening does not stop the fixture from leaking, then it is possible that it will need to be replaced.
Bad Drain Valve
If the drain valve on your sink is broken or a little bit loose, then water will flow out.
Faulty T&P Valve
In the event that the water pressure gets high, the T&P valve will open and allow water to escape. Yet, if the connection between the valve and the T&P valve gets loose or if the T&P valve breaks, water may leak out.
Very High Water Pressure
If the thermostat on your water heater is set to an excessively high temperature, the T&P valve will begin leaking water. This is done to protect you against a water heater that has a very high level of pressure.
Mineralized Water
The lining of the water heater tank will eventually deteriorate due to the minerals accumulating within the water heater. This can result in cracks appearing on the inside of the supply tank. Cracks in a tank will almost certainly allow water to escape.
A Split in the Water Heater
When exposed to heat, water expands in volume. This constant process of expansion and contraction will stress your water heater. Eventually, cracks will begin to appear on the surface.
Additionally, the presence of hard water will further speed up the formation of cracks within your tank. In the event that your water heater has a crack, you will likely be required to purchase a new water heater.
What Can I Do to Prevent Leaks from Occurring in My Water Heater?
Fortunately, water heater leaks are completely preventable. With a bit of prep work, you ever have to put up with the anxiety and worries of a leaking water heater!
The best way to prevent your water heater issues is to get it inspected once a year. Have a specialist perform regular maintenance on your water heater. Ideally, you’ll want this done every two months to guard against cracks, leaks, and other future complications.
Below, we outline some tasks a specialist may perform during a regular maintenance check-up.
What To Expect During Your Water Heater Maintenance Check-up
Temperature Tests
The specialist may examine your water heater’s thermostat to ensure that it is operating.
T&P Valve Inspection
After that, they will examine the T&P valve to ensure that this safety feature does not place your household or loved ones in danger.
Analyse Flue Pipe
For gas water heaters, a specialist in water heaters will examine the flue pipe to determine whether it is venting the combustion fumes. Also, they will check the flue pipe for any signs of rust, cracks, or holes.
Check For Any Possible Leaks
A water heater specialist would check the appliance for any visible cracks or leaks.
Evaluate & Adjust All Connecting Pipes
You must perform regular maintenance on your water heater’s supply pipes.
A specialist would inspect your water heater’s piping for leaks before doing any work.
Once done, they will clean, tighten, and adjust all connections as necessary.
Examine Drain Valve
During a check-up, a specialist would inspect, tighten and clean the drain valve on your water heater.
A drain valve that is loose, broken, or clogged, would likely result in a frustrating leak for you to deal with.
Inspect the Anode Rod
The specialist may also inspect and replace the anode rod of your water heater.
An anode rod attracts sediment and corrosive elements that are present in the water. Without this piece, the internal walls of your water heater will corrode at a faster rate. In the end, corrosion will compromise your water heater’s durability.
Essentially, an anode rod acts as a proxy. It sacrifices itself by taking on corrosion which would have otherwise damaged your water heater’s tank.
Exposure to these abrasive minerals will cause the anode rod to deteriorate. Because of this, you must replace the rod every two to three years inorder to prolong the life of your water heater.
Drain the water heater so that the sediment can be released
As time passes, silt, calcium, sand, and other minerals that settle to the bottom of the water heater build up.
The accumulation of silt in your tank can lead to a variety of issues. Issues such as the formation of cracks and poor operating performance may occur.
We recommend that you drain your water heater once a year to prevent sediment damage.
Hot Water Heater Repair with True Service Plumbing
Has your hot water heater been dripping puddles lately? Give us a call.
Our licensed plumber will assess your home’s water heater system and determine the root cause of your issue, and perform the services necessary to get things up and running again.
From water heater installation and replacement to maintenance and repairs, True Service Plumbing has your back.